\n\n
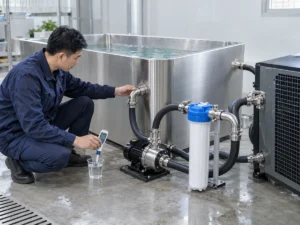
If a cold plunge appears to be leaking, the first job is not to guess which part failed. First decide whether continued operation is appropriate. If the leak or surrounding condition could make continued use unsafe—especially where water is reaching or may reach powered electrical equipment—stop using the plunge and follow the applicable product shutdown instructions where it is safe to do so. Do not keep the equipment running simply to reproduce the symptom.
\n\n\n\n\n\n\n\n\n\n\n\n\n
Once the situation is stable, document where the water first becomes visible, when it appears, what the plunge is doing at that time, any alarms or displayed errors, and any recent cleaning, movement, installation, maintenance, or service work. These observations can narrow the service question without requiring you to dismantle the system or claim that a particular component has failed.
\n\n\n
\n\n
Start With the Stop-Use Decision
\n\n
A leak investigation should begin with the condition around the equipment, not with a repair attempt. Water around a cold plunge can intersect with powered equipment, controls, circulation components, walking surfaces, and the surrounding installation. If the observed condition could make continued use unsafe, the appropriate first step is to stop use and move the issue into a controlled service process.
\n\n
The exact shutdown or isolation procedure is not universal. Cold plunges can differ in electrical supply, chiller and pump configuration, control arrangement, plumbing, and installation. Follow the instructions that apply to the actual product and site where it is safe to do so rather than substituting a generic sequence from another plunge.
\n\n
Do not continue operating the system only because reproducing the leak might make diagnosis easier. A useful service report can often be built from observations already available: where moisture first appeared, whether the unit was idle or operating, whether the symptom coincided with filling, draining, circulation or cooling, and whether anything changed recently.
\n\n
A first-line leak check also should not require opening protected covers, accessing electrical parts, working on refrigeration equipment, or dismantling unknown plumbing. Those steps move beyond observation into product-specific service work.
\n\n
\n\n
First Confirm What Kind of Water You Are Seeing
\n\n
A wet floor does not, by itself, identify a failed cold-plunge component. The visible water may be associated with an actual containment or connection leak, but cold plunge condensation, splash, overflow, drain-related water, or surrounding site conditions can create similar evidence.
\n\n
That distinction matters because water often travels before it becomes obvious. The largest puddle may not be where the water first escaped or formed. For troubleshooting, the first visible moisture is usually more useful than the final collection point.
\n\n
| Observation | Useful interpretation | What it does not prove |
|---|---|---|
| Moisture develops on cold exterior surfaces | Condensation is a category that should remain under consideration | That the product has no separate leak |
| Water appears after entry, exit, cleaning, or other wet activity | Splash or externally introduced water may be involved | That every nearby wet area came from splash |
| Water first appears close to an accessible connection while the system is operating | The connection or nearby water-circuit area becomes a useful inspection boundary | That the nearest fitting has definitely failed |
| Water appears around a drain or overflow area during a related operating event | The drain/overflow path becomes relevant to the service investigation | That the exact drain component is the cause |
| Water is found under or around the equipment with no clear starting point | More observation is needed before assigning a source | That the vessel, chiller, pump, or another specific component is leaking |
\n
\n\n
More than one condition can exist at the same time. Condensation, for example, does not rule out a plumbing or containment leak elsewhere. The goal at this stage is therefore classification, not diagnosis.
\n\n
A useful description sounds like: “Moisture first appears at this location while the system is in this operating state.” A less useful description is: “The pump seal has failed,” unless the component has actually been inspected and verified.
\n\n
Map the Leak Pattern Without Taking the System Apart
\n\n
Good troubleshooting evidence records where, when, and under what operating condition the symptom appears. Those three pieces of information are more useful together than a long list of possible failed parts.
\n\n
Start with the location. Look only at areas that can be observed safely and without removing protected covers or dismantling components. Record the first place where water or moisture becomes visible, not only where it eventually collects.
\n\n
Then record timing. Does the condition appear while the plunge is idle? During or after filling? During circulation or cooling? Around a drain-down event? After cleaning or recent use? A timing pattern may help service personnel determine which part of the system deserves closer attention.
\n\n
Next, record the operating state. Useful details may include:
\n\n
- \n
- whether circulation or cooling was operating;
- whether the equipment was idle;
- whether a controller displayed an alarm or error;
- whether the water level appeared to change, when that can be observed safely;
- whether the symptom began after installation, movement, cleaning, maintenance, or another intervention;
- whether any externally visible fitting, hose, joint, drain area, or surrounding surface was wet;
- whether the same condition has appeared more than once.
\n
\n
\n
\n
\n
\n
\n
\n\n
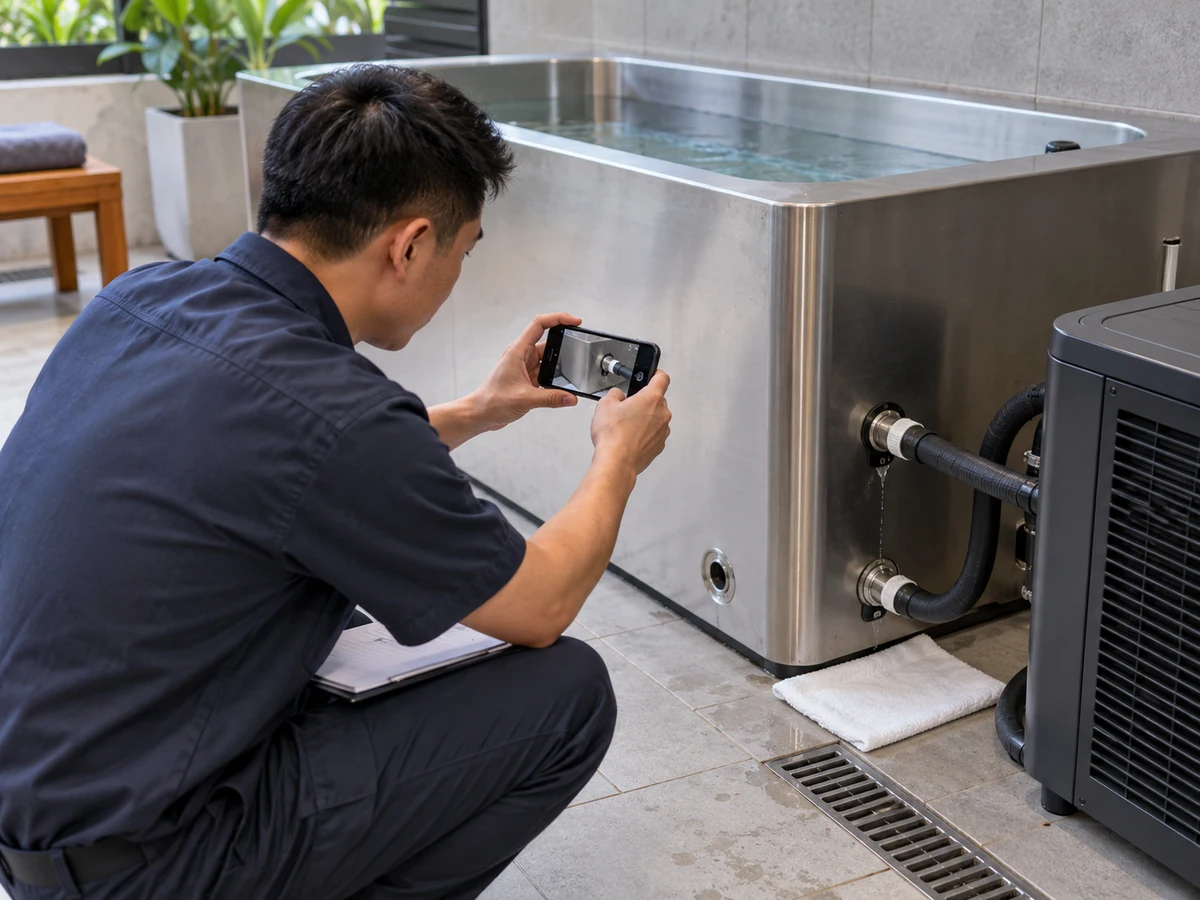
Photographs or video can be useful when they can be taken safely. Capture the first-visible area, the surrounding context, accessible labels or model information, and any displayed error. Do not open a protected panel or reach into a hazardous area simply to obtain a better picture.
\n\n
It is also useful to record what you did not change. If no fitting was tightened, no hose was disconnected, and no service panel was opened, say so. Preserving the original condition can make subsequent diagnosis clearer.
\n\n
The objective is not to reproduce the fault at any cost. If reproducing the condition requires continued operation that may be unsafe, stop the test and report the evidence already available.
\n\n
What Location and Timing Can—and Cannot—Tell Service
\n\n
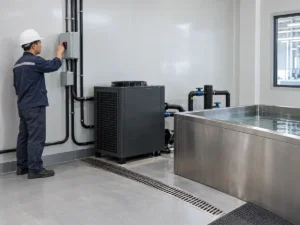
A cold plunge is not a single water-containing object. Depending on the selected configuration, the broader system can involve the vessel or liner, external water connections, a drain or overflow path, circulation components, cooling equipment, and surrounding surfaces where condensation or site water can collect.
\n\n
\n\n
For troubleshooting, these are useful system boundaries, not automatic diagnoses.
\n\n
Suppose water first becomes visible near the circulation or chiller side only while the system is operating. That pattern can narrow the investigation toward the water-circuit area or conditions associated with operation. It still does not prove that the nearest pump, chiller connection, hose, or seal has failed.
\n\n
Likewise, water appearing near a drain during a fill, drain, or related event makes the drain/overflow area relevant. It does not establish which component, connection, or site condition is responsible.
\n\n
The same principle applies to the vessel. Water found beneath the plunge may justify checking the vessel or liner boundary, but its final location on the floor does not prove the vessel itself has failed. Water can migrate along surfaces or collect away from its origin.
\n\n
This is why location and timing must be interpreted together:
\n\n
- \n
- Location identifies where to focus attention.
- Timing shows when the condition develops.
- Operating state shows what the system was doing.
- Recent changes provide context that may alter the diagnostic path.
\n
\n
\n
\n
\n\n
Together, those observations can narrow a service investigation to a plausible subsystem. They should not be upgraded into a confirmed failed component without the relevant product information and inspection.
\n\n
The exact internal routing of hoses, fittings, pumps, chillers, drains, seals, and controls is model-specific. A generic leak guide should therefore stop at the system-boundary level rather than inventing the construction of a particular HACHILL cold plunge.
\n\n
What to Report for Service
\n\n
A service request is much easier to evaluate when it describes the symptom and its conditions before proposing the cause.
\n\n
For an existing HACHILL cold plunge, prepare as much of the following information as is available:
\n\n
- \n
- Product model and configuration: Identify the plunge and, where known, the installed configuration or revision.
- Order or serial reference: Include it when available so the supplied unit can be identified more precisely.
- Exact observed symptom: Describe what you can actually see—for example, where water first appears and whether the condition is continuous or intermittent.
- When it happens: Note whether the plunge is idle, filling, draining, circulating, cooling, recently used, or in another relevant state.
- Water-level behavior: If a level change can be observed safely, record the trend rather than estimating a failed component from it.
- Alarms or displayed messages: Record the actual message or code rather than paraphrasing it from memory when possible.
- Recent changes: Mention installation work, movement, cleaning, maintenance, part changes, plumbing changes, or other interventions that occurred before the symptom began.
- Installation and operating context: Note relevant surrounding conditions that may help distinguish product leakage from condensation, splash, overflow, or site drainage.
- Affected location or identifier: If an accessible component has a visible label or part reference, include it without dismantling the system.
- Safe photos or video: Show the first-visible moisture location, surrounding area, product identification, and displayed errors where this can be done safely.
- Actions already taken: Tell service what has been stopped, inspected externally, cleaned, moved, or otherwise changed.
- Support outcome needed: Explain whether you need diagnostic guidance, confirmation of the correct service procedure, part identification, or another defined next step.
\n
\n
\n
\n
\n
\n
\n
\n
\n
\n
\n
\n
\n\n
Example service report:
\n
“Water first becomes visible beneath the circulation-side area while cooling is operating. The plunge is dry at that location before operation. No panels or plumbing connections have been opened. The controller shows no error. The issue began after the unit was moved for cleaning. Model and order information, photos of the first-visible location, and the surrounding installation are attached.”
\n
\n\n
That report does not pretend to identify the failed part. It gives service a clear starting point.
\n\n
These details also should not be interpreted as warranty conditions or promises of a particular remedy. Warranty status, replacement responsibility, parts availability, and the appropriate corrective action depend on the actual product and service case.
\n\n
Do Not Turn First-Line Checks Into a Repair Attempt
\n\n
The point of first-line troubleshooting is to preserve useful information and determine the next appropriate action. It is not to convert a general article into a universal repair manual.
\n\n
Avoid opening electrical or protected service areas merely to locate the leak. Do not perform energized electrical tests unless that work falls within the applicable procedure and is being performed by an appropriately qualified person. Refrigeration work likewise belongs within the applicable service boundary.
\n\n
Do not assume that tightening every accessible fitting is a harmless first step. A connection that looks similar across two cold plunges can differ in design, seal arrangement, material, installation method, or approved service procedure. Without the correct product information, generic tightening, resealing, sealant application, gasket replacement, or plumbing disassembly can create new variables and make the original fault harder to interpret.
\n\n
The same caution applies to advice copied from another manufacturer’s product. A procedure written for a particular chiller connection, grommet, hose arrangement, drain design, or electrical configuration is evidence about that product—not proof that the same procedure applies to a HACHILL unit.
\n\n
A dry area is not automatically a closed service case
\n\n
If visible water disappears, that is an observation, not proof that the cause has been corrected.
\n\n
Before the plunge returns to operation, the actual issue should be addressed at the level required by the product and affected subsystem. Depending on the case, that can require identification of the cause, the appropriate corrective action, and whatever post-repair checks apply to the actual configuration and installation.
\n\n
There is no universal leak-test pressure, tightening torque, sealing method, electrical restart sequence, or return-to-service checklist that should be applied to every cold plunge.
\n\n
For existing HACHILL equipment, the practical next step is to submit the product identity and the leak evidence you have collected to HACHILL After-Sales Support or Product Support. A concise record of where the water first appeared, when it appeared, what the system was doing, what changed recently, and what has already been left untouched gives service a stronger starting point than an unverified diagnosis.
\n\n
\n