Barrel sauna installation should follow a controlled sequence: confirm the exact model and documents, release the site and foundation, inspect the delivered kit, assemble the shell without forcing alignment, install the selected heater from its documentation, coordinate ventilation, and treat the first heat as a commissioning test before normal operation.
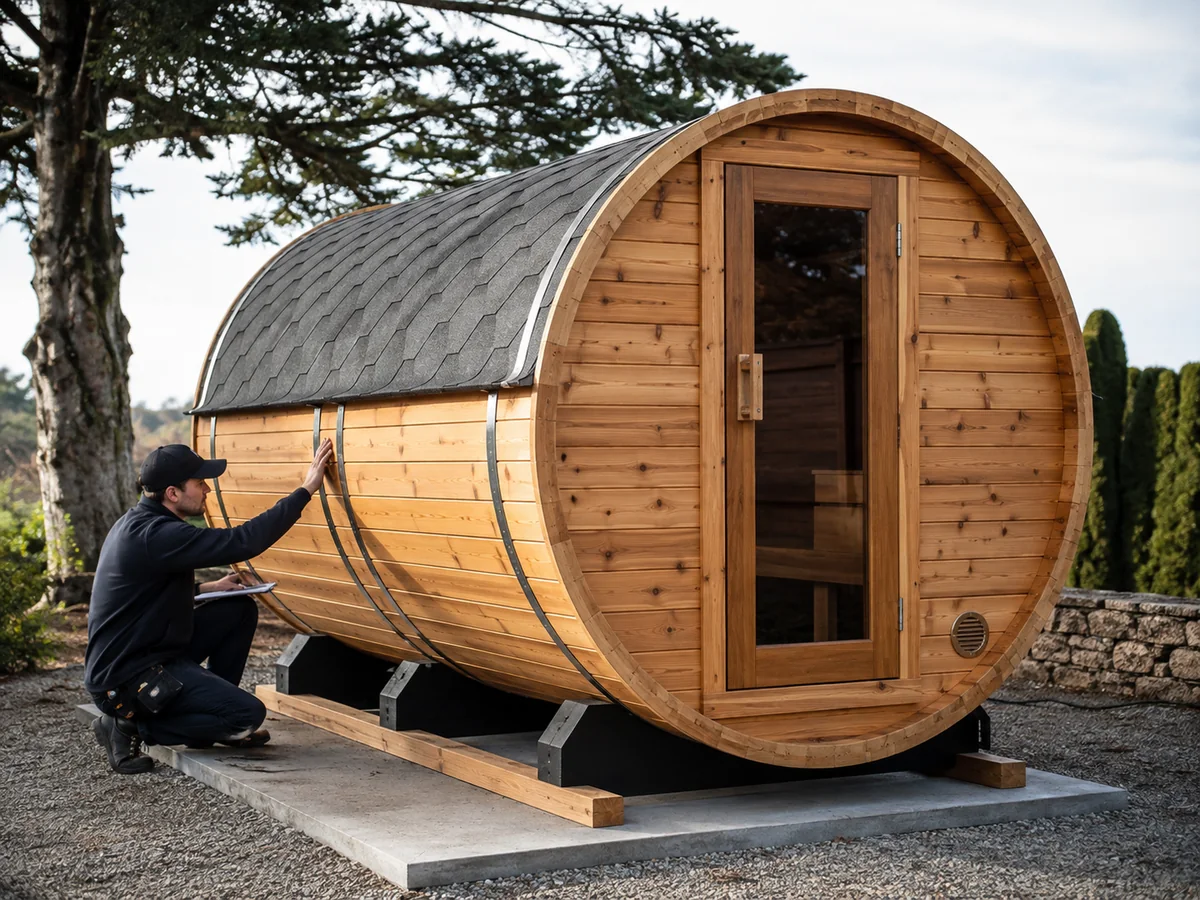
Conceptual installation visualization; use the applicable model and component documentation for project decisions.
Quick Answer
Install a barrel sauna in a controlled sequence: verify the exact model and current documents, release the site and foundation, inspect the delivered kit, assemble the shell without forcing alignment, complete the selected heater and ventilation interfaces from model-specific instructions, then run a controlled first heat before handover. Site conditions, heater type, electrical or chimney scope and local requirements can change the work.
If the product route is still being defined, review HACHILL’s barrel sauna product route before treating this installation guide as the controlling build sequence.
Use this guide as an installation-planning and commissioning framework. It does not replace the model-specific assembly manual, heater or stove manual, structural design, electrical design, chimney approval or local code review. Where electrical, combustion, chimney, structural, fire or permit work is involved, qualified local professionals should review or perform that scope.
Good fit for this guide
- Installers assembling a selected barrel sauna.
- Distributors preparing installation support materials.
- Commercial wellness buyers planning handover and operation.
- Residential researchers checking whether the site is ready.
This guide does not replace
- Exact HACHILL model documentation.
- Selected heater, controller, sensor, stove or chimney documentation.
- Local electrical, fire, structural or permit review.
- Project-specific engineering or installer judgment.
Start with the Exact Model, Site and Installation Responsibility
The first installation task is not lifting timber into position. It is confirming what is being installed, which document revision controls the work, what site assumptions are valid, and who owns each regulated or specialist task.
Another manufacturer’s cradle dimensions, fastener pattern, heater clearance, sensor location or band-adjustment procedure cannot be transferred automatically to a HACHILL configuration. General barrel-sauna manuals can help explain the assembly concept, but the actual values must come from the exact model and selected components.
For procurement-stage decisions such as model format, buyer fit, capacity expectations or order scope, keep those questions in the barrel sauna buying guide for dealers and commercial buyers rather than expanding this installation page into a second buying guide.
| Gate | Evidence Required | Responsible Party | Release / Hold Condition |
|---|---|---|---|
| Product identity | Model or approved configuration | Supplier / buyer | Release only when the delivered scope matches the approved order basis. |
| Assembly documents | Current manual, drawing or approved layout | Supplier / installer | Hold if the document revision or configuration is unclear. |
| Site | Location, access, exposure and working area | Buyer / installer | Release when assembly and later service access are practical. |
| Foundation | Support arrangement, level condition, drainage and structural context | Buyer / structural professional where required | Hold if the foundation is unstable, unreviewed or inconsistent with support geometry. |
| Heater route | Exact electric heater or wood-fired stove route | Buyer / supplier / installer | Release only when the heater interface is known before commissioning. |
| Regulated work | Electrical, chimney, combustion, fire or structural scope | Qualified local professional where required | Hold until the required professional scope is defined. |
| Ventilation | Intended intake, exhaust and sensor relationship | Installer / heater professional | Hold if vents are being moved for convenience rather than documentation. |
Installation control register
For a distributor, commercial buyer or project installer, the useful installation output is not only a finished sauna. It is a record that each work stage was released by the right party before the next stage began.
| Control Item | Required Decision | Typical Evidence | Unsafe Shortcut to Avoid |
|---|---|---|---|
| Document control | Which model and revision controls this build? | Order scope, current manual, drawing or approved layout. | Using a similar barrel sauna manual because the shape looks close. |
| Site release | Is the base suitable before timber assembly starts? | Foundation review, access check, drainage review and responsible-party signoff. | Starting assembly because the site appears visually flat. |
| Heater interface | Is the selected heater or stove compatible with the installation route? | Heater manual, controller/sensor instructions, electrical or chimney scope. | Completing the shell first and resolving utilities later. |
| Commissioning authority | Who can accept or hold the first heat? | Installer checklist, local-professional release where required, open-exception log. | Allowing normal operation because the sauna looks complete. |
Release the Site and Foundation Before Assembly
The foundation is part of the sauna’s geometry control. It is not only a convenient surface under the product. If the base, support line or cradle location is wrong, the problem can appear later as hard-to-seat staves, distorted door movement, excessive band tension or premature maintenance issues.
When the site decision involves barrel versus other outdoor sauna formats, use the broader outdoor sauna product options page as the category-level route and keep this page focused on the selected barrel-sauna installation.
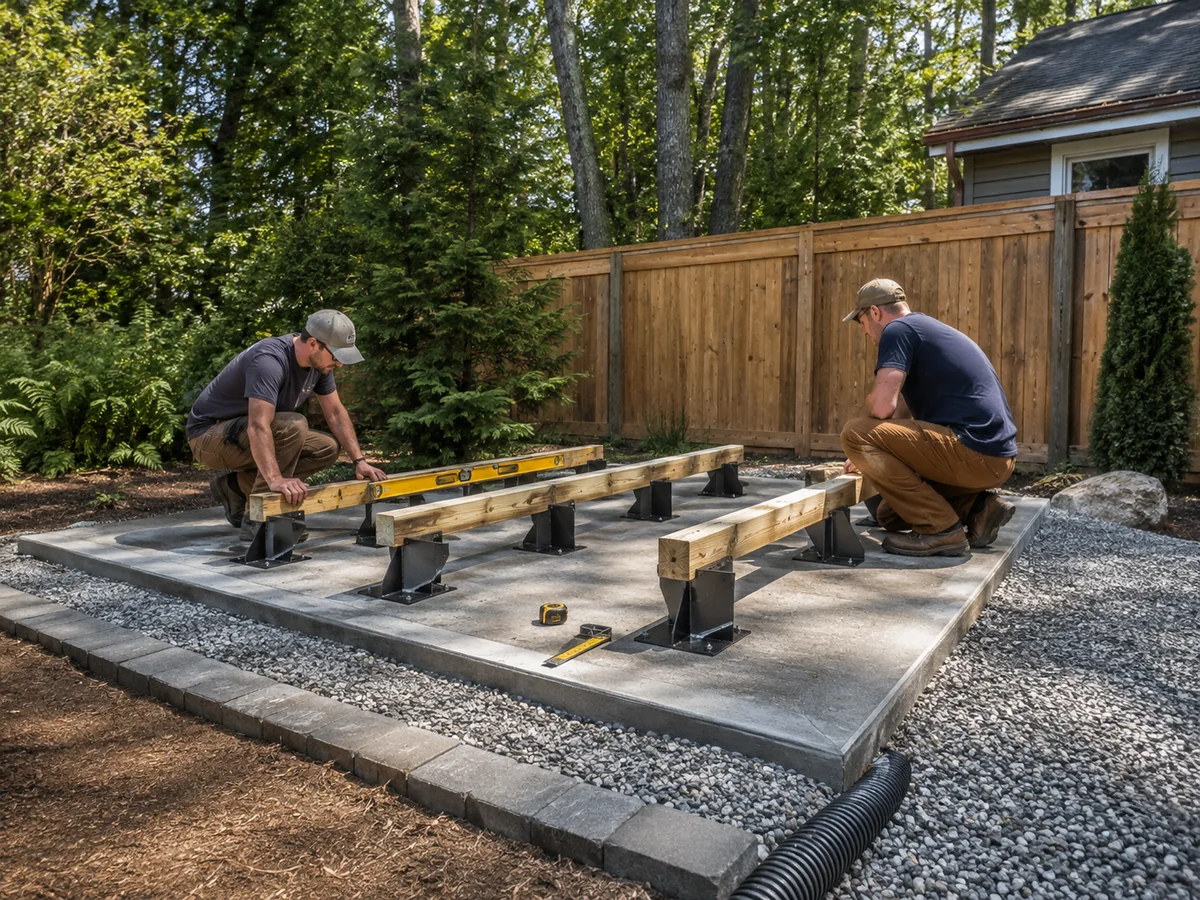
Conceptual installation visualization; use the applicable model and component documentation for project decisions.
Confirm before placing cradles
- Approved footprint and support locations.
- Stable and adequately level support condition.
- Drainage, runoff and ground splash risk.
- Soil, frost or movement concerns where relevant.
- Structural capacity for deck or elevated installation.
- Assembly space, delivery access and service clearance.
Do not assume
- One universal slab thickness.
- One gravel depth for every site.
- One anchor or cradle spacing pattern.
- That a visually flat base is automatically suitable.
- That bands can correct a poor support condition.
Site-access check before assembly
Confirm that crates, end walls, staves, heater components and long handling pieces can actually reach the installation area without uncontrolled lifting, unsafe carrying routes or field modification. Packaging size, path width, stairs, gates, slopes, unloading method and lifting responsibility can change the installation plan even when the foundation itself is suitable.
| Site Condition | Why It Changes Installation | Safe Installation Response |
|---|---|---|
| Soft ground, fill or uncertain soil movement | Support may settle after the shell is assembled, creating door and band issues. | Hold foundation release until the support method is reviewed for the actual site. |
| Deck or elevated platform | The project adds structural load and access questions beyond ordinary ground placement. | Confirm load path, support spacing and local structural responsibility before delivery. |
| Freeze-thaw or snow exposure | Movement, runoff and seasonal maintenance can change the support condition. | Review drainage, seasonal access and post-winter inspection responsibility. |
| High public or commercial use | Maintenance access, cleaning and stop-use authority become operational requirements. | Plan service clearance, operating inspections and documented handover before opening. |
Inspect the Delivered Sauna Before Assembly
Receiving inspection is the lowest-cost point for stopping a configuration or transport problem. Once parts have been drilled, cut, forced into position or modified in the field, it becomes more difficult to separate shipping damage, delivery mismatch and installation-created defects.
| Inspection Area | What to Check | Why It Matters |
|---|---|---|
| Identity | Model, configuration, package count and document revision. | Prevents the wrong manual or kit from controlling the work. |
| Timber and shell | Cradles, staves, end walls and visible damage. | Prevents geometry or appearance problems from being discovered late. |
| Hardware | Bands, fasteners, brackets and supplied guards. | Prevents missing parts from being substituted on site. |
| Interior | Benches, flooring, door, glazing and latch parts. | Protects usability and handover quality. |
| Heater route | Selected heater or stove, controller, sensor and chimney-related scope where applicable. | Prevents mechanical completion before utility or fire-safety scope is ready. |
| Records | Photos of packaging, damage, labels and discrepancies. | Supports supplier, installer and buyer communication. |
Receiving evidence to keep
Keep the receiving record simple but useful. For a commercial project, the best evidence is a dated package-condition record, component count, model or configuration identifier, visible-damage photos, missing-parts list and the decision to release, hold or request supplier clarification.
Assemble the Barrel Sauna in the Controlled Sequence
Barrel sauna assembly depends on progressive alignment. The installation should establish a stable base datum, build the shell in sequence, keep end-wall geometry under control and adjust bands according to the model documentation. Force is not a substitute for alignment.
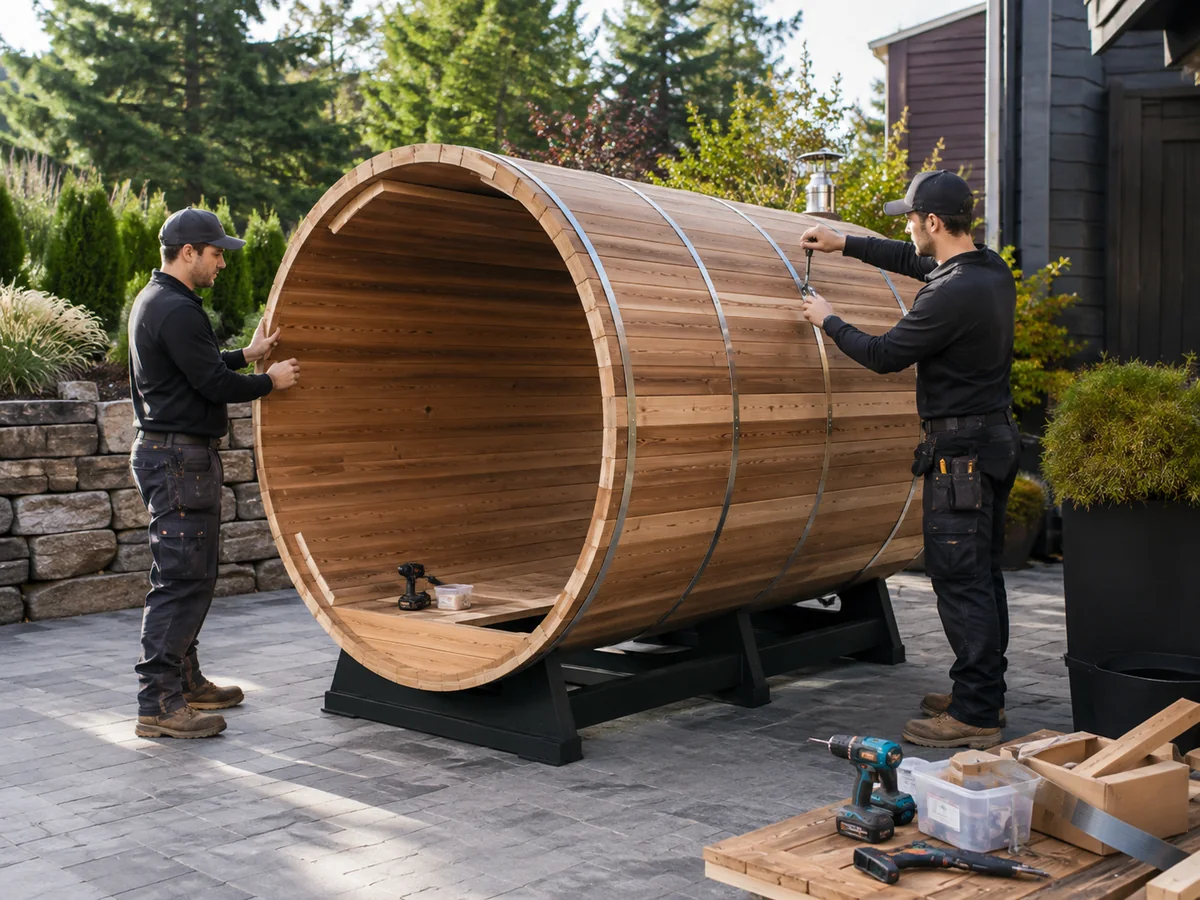
Conceptual installation visualization; use the applicable model and component documentation for project decisions.
1. Position cradles
Set the cradles from current model documentation. Check orientation, spacing, support contact, alignment and relationship to the approved footprint.
2. Establish datum
Install the lower shell and end-wall reference correctly before trying to create final band tension. This is the geometry-control stage.
3. Add staves progressively
Watch for increasing resistance, abnormal gaps, end-wall movement or the need for excessive force. These indicate a check, not harder tightening.
| Observation | Correct Response | Do Not |
|---|---|---|
| Cradles do not establish expected geometry. | Recheck foundation, position and documentation. | Force upper assembly around a weak reference. |
| Staves become progressively harder to seat. | Stop and review alignment from the last correct point. | Use bands to pull everything together. |
| End wall moves out of position. | Return to the preceding assembly step. | Continue building around the error. |
| Door opening appears distorted. | Review shell and support geometry. | Plane, cut or modify the door immediately. |
| Component does not match the manual. | Verify model and delivered scope before modification. | Drill, cut or substitute parts without confirmation. |
Complete the Outdoor Weather Closeout
A barrel shape does not automatically make every installation weather-ready. The product scope, roof or membrane arrangement, exposure, door and glazing interfaces, chimney penetrations and runoff conditions determine what closeout is required.
Outdoor closeout checklist
- Roof membrane, shingles or approved weather layer where included.
- Fastener, penetration and chimney-interface treatment where applicable.
- Door, glazing and upper-shell runoff review.
- Ground splash and drainage around the base.
- Future access for inspection, heater service and maintenance.
- No blocked ventilation openings or service areas.
Install the Selected Heater from the Exact Documentation
This guide begins after the heater route has been selected. If electric versus wood-fired heat, heater capacity, controls or stove suitability are still unresolved, route that decision to the sauna heater buying guide before treating heater work as an installation detail.
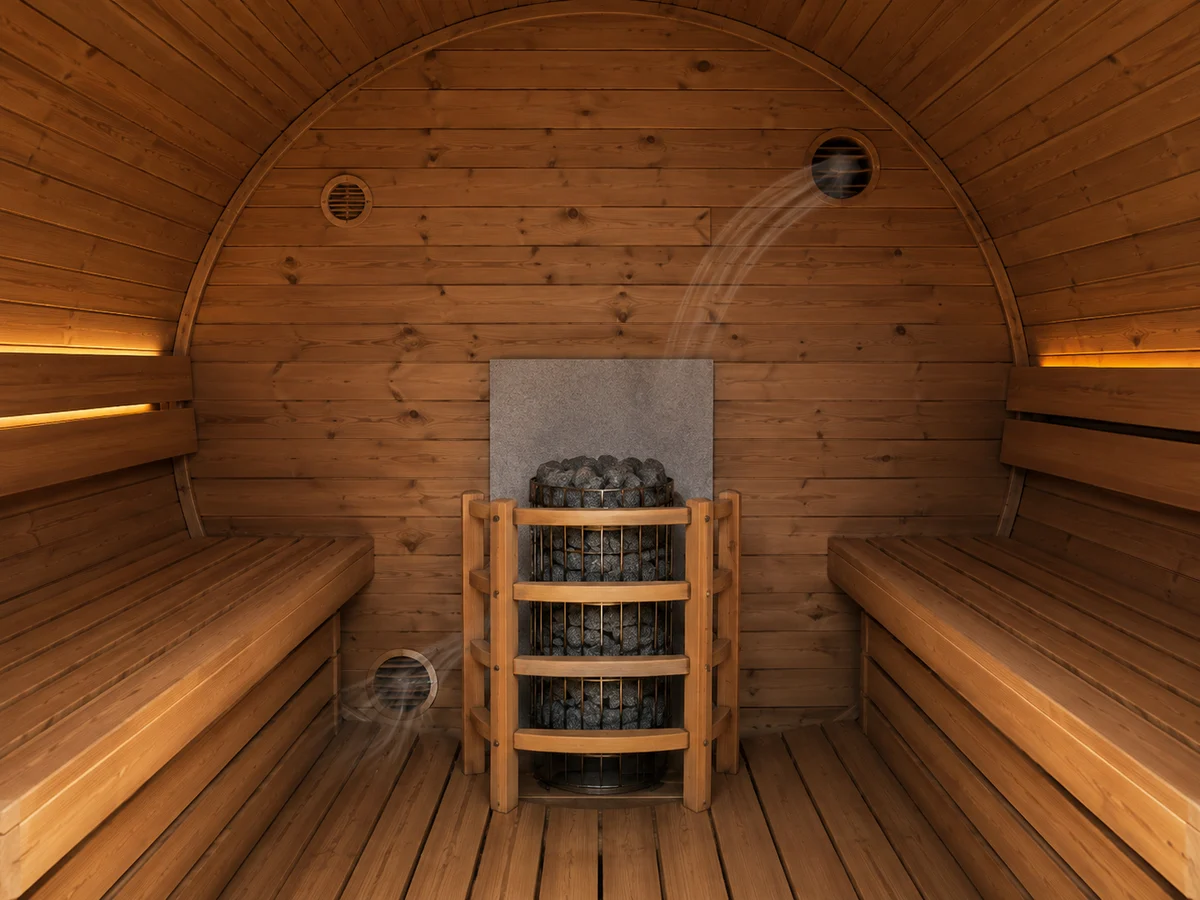
Conceptual installation visualization; use the applicable model and component documentation for project decisions.
Electric heater route
Confirm the exact heater, voltage, frequency, phase, controller, power unit where used, sensor, cable route, protective devices, local electrical requirements and commissioning responsibility.
Do not infer the full electrical design from heater kW alone. Electrical work must follow the exact equipment documentation and applicable local requirements. Required heater clearances are also model-specific and must be verified against the selected heater manufacturer’s installation instructions and the applicable project requirements.
Wood-fired route
Confirm the exact stove, approved room suitability, clearances, floor and wall protection, chimney or flue system, penetration details, combustion air, fire requirements and inspection access.
Do not copy another stove’s clearance dimensions or chimney assumptions into a HACHILL installation.
| Hold Point | Release Evidence | Reason |
|---|---|---|
| Heater identity | Exact selected heater or stove confirmed. | Prevents compatibility or supply mismatch. |
| Mounting and guard | Location, protection and access match documentation. | Protects users and combustible surfaces. |
| Electrical route | Supply, controls, sensors and electrician scope defined. | Prevents unsafe improvised connections. |
| Combustion route | Chimney, clearances, fire and smoke requirements reviewed. | Prevents unsafe wood-fired installation. |
| Commissioning authority | Responsible party assigned. | Prevents normal use before release. |
| Input | Electric Heater Route | Wood-Fired Route | Why It Matters |
|---|---|---|---|
| Selected equipment identity | Exact heater, controls, sensor and power unit where applicable. | Exact stove, chimney or flue system and protection scope. | Prevents treating different heater systems as interchangeable. |
| Site utility or fuel context | Voltage, frequency, phase and qualified electrical scope. | Combustion air, chimney path, fire review and smoke context. | Prevents late utility mismatch or unsafe improvisation. |
| Clearance and protection | Guarding, surrounding timber interfaces and maintenance access. | Clearances, floor/wall protection and penetration detailing. | Protects users, timber surfaces and serviceability. |
| Commissioning dependency | Controls and sensor response must be checked during first heat. | Draft, smoke behavior and safe stove operation must be checked during first heat. | Connects heater installation to handover rather than visual completion. |
Coordinate Ventilation with the Heater and Barrel Geometry
Ventilation is part of the heating and comfort system. It should not be moved only because another opening looks cleaner or is easier to cut. Intake, exhaust, heater type and temperature-sensor position interact with the actual installation.
Ventilation checks
- Confirm the intended air inlet and exhaust arrangement.
- Coordinate airflow with heater, guard and bench layout.
- Check temperature-sensor relationship before closing the wall or ceiling scope.
- Do not block vents with weather closeout or interior components.
- Do not impose one universal vent diameter, height or distance across every model.
Treat the First Heat as a Commissioning Test
The first heat is not the first normal sauna session. It is a controlled commissioning cycle used to verify heater operation, controls, sensor response, ventilation, door behavior, shell movement and installation abnormalities before handover.
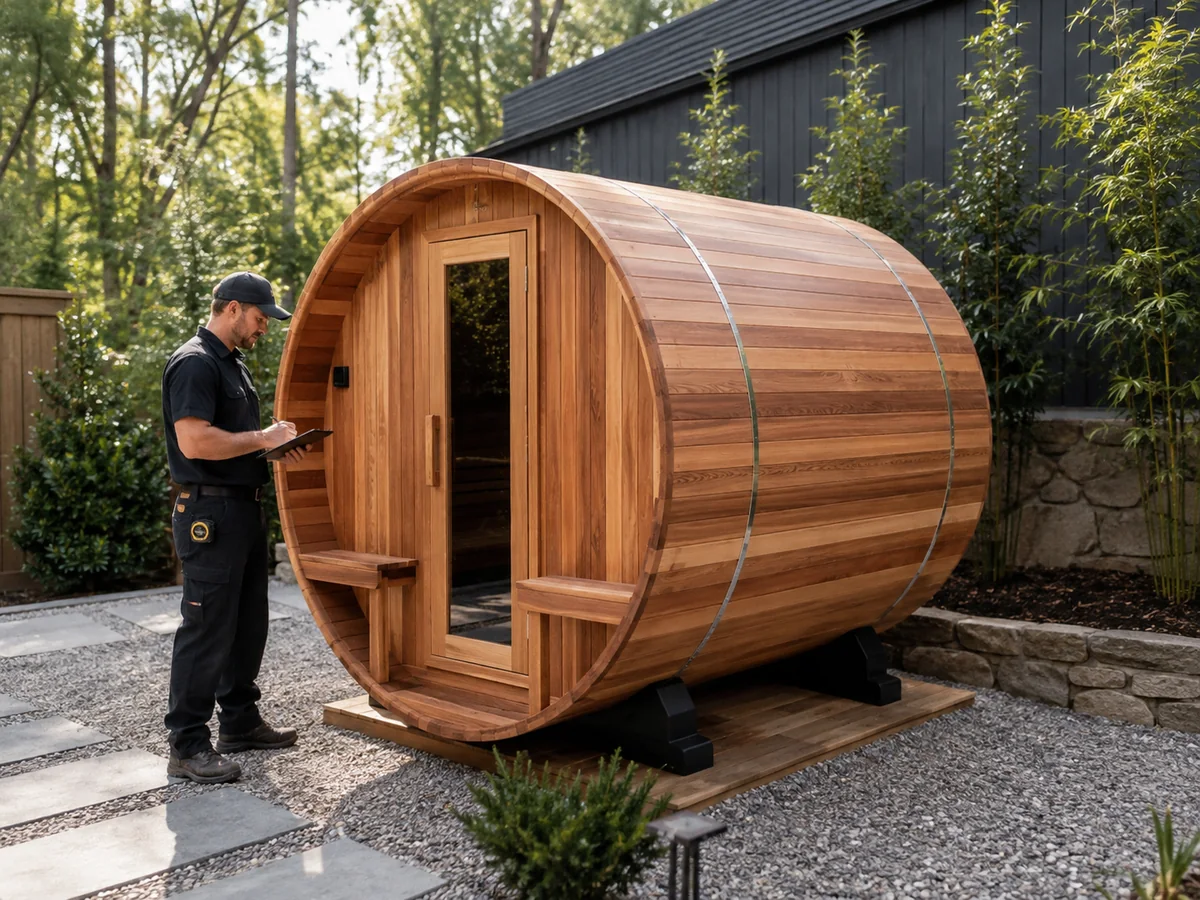
Conceptual installation visualization; use the applicable model and component documentation for project decisions.
Before the first heat
- Remove debris.
- Confirm guards and benches.
- Release heater or stove scope.
- Check vents, door and weather closeout.
- Close unresolved defects.
During the first heat
- Observe heater or stove operation.
- Check controls and sensor response.
- Watch airflow and door behavior.
- Look for smoke, abnormal electrical behavior or unsafe heat contact.
After cool-down
- Review bands and stave joints.
- Check door alignment.
- Inspect heater and chimney interfaces where accessible.
- Record pass, open exception or hold.
| Commissioning Result | Meaning | Allowed Next Step |
|---|---|---|
| PASS | No unresolved safety, heater, ventilation, door, band or weather-closeout concern remains after cool-down inspection. | Prepare normal-use handover and operating instructions. |
| OPEN EXCEPTION | An item is documented and assigned, and the responsible party has explicitly confirmed that it does not affect safe operation or required compliance. | Release only under the documented conditions and close the punch item within the agreed responsibility. |
| HOLD | Electrical, combustion, smoke, abnormal heat contact, geometry, door, ventilation or documentation problems remain unresolved. | Do not allow normal operation until the relevant check is repeated and accepted. |
Common Barrel Sauna Installation Mistakes and Why They Matter
| Mistake | Why It Happens | Potential Result | Correct Response |
|---|---|---|---|
| Assembly starts before foundation release. | The site looks visually flat. | Geometry problems propagate into shell and door. | Stop and verify support condition. |
| Wrong manual or revision used. | Similar barrel models look alike. | Wrong position, hardware or sequence. | Confirm exact model and documents. |
| Components are forced into place. | Early misalignment is mistaken for tight fit. | Damage or distorted assembly. | Return to the last correct datum. |
| Bands are aggressively tightened. | Bands are treated as alignment tools. | Hidden geometry issue remains. | Correct shell alignment first. |
| Heater route is finalized too late. | Product and site teams work separately. | Utility or clearance conflict. | Release heater interface before commissioning. |
| Vent is moved for convenience. | Aesthetics override system design. | Poor airflow or sensor interaction. | Use documented ventilation arrangement. |
| First heat is treated as normal use. | No commissioning checklist exists. | Installation defects go unnoticed. | Run a controlled first-heat inspection. |
Composite scenario: progressive alignment failure
A project team releases the installation because the pad appears level. The lower shell can be assembled, but each successive stave becomes harder to seat. The team begins tightening the bands harder to close the gaps.
Correction: stop tightening, return to the support and cradle checks, verify the sequence and re-establish the correct datum.
Illustrative scenario only; not a claimed customer case.
Composite scenario: heater and site mismatch
The barrel is mechanically complete before the electrical route is checked. The selected heater/control route does not align with the site supply.
Correction: hold commissioning, verify the exact heater and controller documentation, and have the required electrical scope resolved by the responsible qualified professional.
Illustrative scenario only; not a claimed customer case.
Composite scenario: commercial handover gap
A wellness facility accepts a visually complete outdoor barrel sauna, but no one owns routine band inspection, heater maintenance, weather checks or stop-use decisions. Small post-heat changes are noticed by staff but not recorded.
Correction: reopen the handover pack, assign routine inspection responsibility and define the escalation route for any heater, door, band, ventilation or weather-closeout concern.
Illustrative scenario only; not a claimed customer case.
Release the Sauna for Operation and Complete Handover
Mechanical completion does not automatically mean operational release. A commercial project should also establish who owns inspection, cleaning, heater maintenance, weather monitoring, defect reporting and stop-use decisions.
| Scope | Supplier | Installer | Qualified Local Professional | Buyer / Operator |
|---|---|---|---|---|
| Product documentation | Provide controlled product information. | Use current documents. | Review where required. | Retain for operation. |
| Foundation interface | Provide product support requirements. | Position product correctly. | Structural review where required. | Provide approved site. |
| Mechanical assembly | Support product method. | Execute assembly. | — | Accept handover. |
| Electric heater | Provide selected product information. | Coordinate installation. | Electrical work or approval as required. | Provide site supply. |
| Wood stove / chimney | Provide selected product information. | Coordinate interfaces. | Combustion, fire or chimney scope as required. | Provide approved site. |
| First heat | Provide equipment procedure. | Execute installation checks. | Participate where required. | Accept release. |
| Ongoing operation | Provide applicable product guidance. | — | Specialist service where required. | Own routine operation. |
Handover evidence pack
- Installed model and configuration.
- Current manuals and approved drawings.
- Site and foundation release record.
- Electrical or combustion acceptance record where applicable.
- Heater, controller, sensor or stove documentation.
- Ventilation check.
- First-heat commissioning result.
- Defect, punch-list or approved field-deviation record.
- Maintenance guidance and responsible service contacts.
| Operating Area | Decision Before Release | Why It Belongs in Handover |
|---|---|---|
| Cleaning and inspection | Who checks benches, floor, heater guard, vents, door and visible shell condition? | Commercial use creates repeat exposure; small installation issues should not become operating defects. |
| Weather monitoring | Who checks drainage, roof or membrane condition, ground splash and seasonal exposure? | Outdoor installation performance depends on site maintenance as well as product assembly. |
| Heater maintenance | Who follows the selected heater, stove, controller or chimney maintenance instructions? | Heater safety and performance cannot be separated from routine operation. |
| Stop-use authority | Who can take the sauna out of service if smoke, electrical behavior, door movement, band movement or heat contact is abnormal? | Prevents staff from continuing operation while responsibility is unclear. |
Information to Prepare for Installation Support
Before requesting support, prepare enough information to separate product-interface questions from site work and regulated installation scope.
| Input | Why It Is Needed |
|---|---|
| Selected or proposed sauna model | Controls assembly sequence, support, heater interface and documentation. |
| Installation country and location | Supports climate, code, electrical and fire-scope review. |
| Residential or commercial use | Changes cleaning, inspection, throughput and handover expectations. |
| Foundation status and site access | Determines whether assembly can safely proceed. |
| Delivery and handling route | Confirms package dimensions, unloading method, gates, doors, stairs, slopes and lifting constraints before delivery or field assembly. |
| Electric or wood-fired heater route | Changes electrical, chimney, combustion and ventilation scope. |
| Voltage, frequency and phase for electric route | Prevents late electrical mismatch. |
| Chimney and fire route for wood-fired route | Prevents unsafe combustion assumptions. |
| Ventilation constraints | Prevents field relocation of intended airflow paths. |
| Commercial operating duty where applicable | Helps define cleaning, inspection, service access and stop-use responsibility before handover. |
| Responsible installer and local professional scope | Clarifies who can release each hold point. |
Document package to request with a B2B installation brief
- Current assembly manual or installation drawing for the exact configuration.
- Selected heater, controller, sensor, stove or chimney documentation.
- Packaging and delivered-component list for receiving inspection.
- Any approved deviation, substitution or site-specific instruction.
- Commercial operation and maintenance guidance that the buyer or operator must retain after handover.
Reference Basis for Model-Specific Installation Decisions
General installation references are useful when they clarify the type of evidence to request. They do not replace exact HACHILL product documentation, the selected heater or stove manual, project-specific engineering, or local code review.
| Reference Type | What It Supports | Boundary for This Article |
|---|---|---|
| Barrel-sauna manufacturer assembly manuals | Barrel sauna assembly is controlled by product-specific documentation rather than one universal visual sequence. | Use only to support model-specific document control. Do not transfer another brand’s dimensions, fastener pattern, cradle location, hardware count or band adjustment to a HACHILL sauna. |
| Harvia sauna ventilation guidance | Ventilation arrangement interacts with heater type and sauna operation. | Final vent location, size and arrangement must come from the selected sauna, heater and project requirements. |
| Harvia temperature-sensor guidance | Sensor location can depend on heater placement and equipment-specific instructions. | Do not infer a universal HACHILL sensor position. Follow the selected controller, heater and sauna documentation. |
| Harvia first-heating guidance | A new heater’s first heating is a controlled equipment step in which ventilation and abnormal conditions matter. | Use the selected heater’s actual commissioning procedure; this source does not set a universal HACHILL first-heat temperature, duration or acceptance value. |
| Harvia heater safety-distance guidance | Heater safety clearances are equipment-specific and are provided in the heater’s rating plate, installation instructions or product documentation. | Do not transfer Harvia distances to a different heater or HACHILL configuration. Use the exact selected equipment documentation and applicable local requirements. |
| Harvia electric-heater connection guidance | Electrical heater connection and servicing must follow the equipment requirements and the regulations that apply to the installation. | This does not create a universal licensing rule for every market; the responsible local professional and jurisdiction determine the applicable field requirements. |
Evidence boundary: third-party manuals and component-brand documents are reference inputs, not HACHILL specifications. Where a value, clearance, support detail, wiring requirement or commissioning procedure is required, use the exact HACHILL configuration, selected component documentation and local professional review.
Frequently Asked Questions
What foundation is best for a barrel sauna?
There is no single foundation specification that is correct for every barrel sauna and every site. Confirm the selected model’s support arrangement together with site stability, drainage, soil or structural conditions, frost exposure where applicable and local project requirements.
Can I assemble a barrel sauna myself?
Some prefabricated barrel saunas are designed around field assembly, but the complete project may still include electrical, structural, chimney, combustion, fire or permit work that requires qualified local professionals.
How tight should barrel sauna bands be?
Use the exact model’s assembly instructions. Do not use a generic torque value or tightening distance from another sauna. Bands should not be used to force an incorrectly aligned shell into position.
Can I size the heater by the number of people?
No. Heater sizing depends on sauna-room characteristics and the selected heater’s approved operating range, not seat count alone. Person capacity is not a complete heater-sizing method.
Does a barrel sauna need ventilation?
Ventilation should be coordinated with the heater, sauna geometry and sensor arrangement rather than treated as an optional cosmetic opening. Follow the exact sauna and heater documentation.
What should I check during the first heat?
Check heater or stove operation, controls, sensor response, ventilation, electrical or combustion behavior, door operation and surrounding installation. After cool-down, inspect the shell, bands and accessible components again.
Should barrel sauna bands be tightened after the first heat?
Inspect them according to the exact sauna instructions after the initial heating and cool-down cycle. Do not assume every model requires the same adjustment procedure or tightening amount.
Need to Review a Barrel Sauna Installation Scope?
Prepare the selected model, site location, foundation status, delivery access, heater route, electrical or chimney conditions, ventilation constraints, installation responsibility and required documents.
For a selected HACHILL product that needs manufacturer-side site coordination, use Installation & Technical Support. For a defined commercial purchase or project scope, submit the actual configuration and destination through Request a Quote.
Manufacturer-side support does not replace regulated field work, project-specific engineering or local authority review where those responsibilities apply.