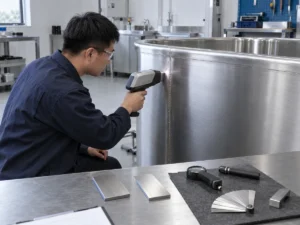
Direct answer: To clean sauna wood without damaging it, let the room cool, remove loose dust and grit, then use a soft brush or non-abrasive cloth with warm water and, when needed, a mild cleaner confirmed compatible with the installed wood or finish. Work with the grain, use only enough liquid to clean the surface, remove cleaner residue exactly as the product or sauna-care instructions require, and let the wood dry fully before normal use.
The correct method depends on the actual surface and problem. Bare benches, treated timber, exterior wood, floors, heater surfaces, glass and other components can have different care requirements. Do not treat bleach, vinegar, steam cleaning, pressure washing or a product labeled “wood-safe” as universally suitable for sauna timber. If discoloration, odor, softness or dampness keeps returning after normal cleaning and drying, stop escalating the chemistry and investigate the cause.
How to Clean Sauna Wood Without Damaging It
Start with the surface, not the stain.
Before wet cleaning, check whether you know the wood treatment or finish and whether the sauna manufacturer provides care instructions. Bare or lightly treated benches, coated components, exterior wood, and non-wood parts do not necessarily share the same cleaning requirements.
For routine dirt and sweat residue, the basic sequence is straightforward:
- Let the sauna cool and follow any equipment shutdown instructions that apply.
- Remove loose dust and grit so they are not dragged across the wood during wet cleaning.
- Identify the surface as far as practical: untreated or treated wood, a coated component, exterior timber, flooring or a non-wood part.
- Check the proposed cleaner and method against the applicable care instructions and follow the product label for dilution, application and protective measures.
- Test an unfamiliar product in an inconspicuous area when compatibility or appearance change is uncertain.
- Clean gently in small sections with the grain using a soft brush, cloth or other non-aggressive tool, without unnecessarily saturating joints or concealed areas.
- Remove cleaner residue as directed rather than assuming every cleaner requires the same rinsing method.
- Dry and inspect the surface before normal use resumes. If the same area remains damp, smells musty, softens or discolors again, investigate instead of repeating stronger cleaning.
Harvia, for example, describes wooden-bench cleaning with warm water, a suitable cleaning solution and a soft brush, working along the grain before rinsing and drying. Finnleo describes plain-water brushing for routine care and mild detergent for dirt or sweat stains. These are useful manufacturer examples, not universal specifications for every sauna.
That distinction matters. “Use mild soap and wipe it off” sounds simple, but it leaves out the two checks most likely to prevent damage: surface compatibility and the cleaner’s own residue-removal instructions.
If normal cleaning requires soaking joints, repeatedly wetting concealed areas, or applying increasingly aggressive chemicals to get a result, the problem may no longer be routine cleaning.
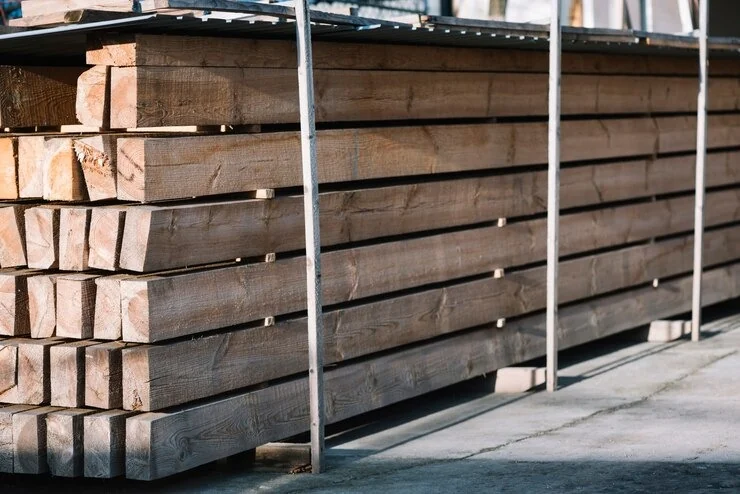
How to Decide Whether a Cleaner or Cleaning Method Is Suitable
A label such as natural, mild, wood-safe, or even sauna cleaner does not answer the whole question.
A more reliable check is:
Use four filters before applying an unfamiliar method:
Task. Are you removing normal surface soil, disinfecting, treating a persistent stain, or restoring the wood?
Surface. Is it an untreated bench, treated wood, a coated component, exterior timber, or a non-wood sauna component?
Instructions. What do the sauna manufacturer, surface-treatment instructions and cleaner label say?
Process. Does the method require rinsing, drying, ventilation, protective equipment or another condition that can actually be met?
Manufacturer care instructions can legitimately differ by surface, product and maintenance task. For example, Finnleo permits particular maintenance methods in defined situations, while Harvia provides its own bench-cleaning, sanding and treatment procedures. The table below is therefore a verification guide, not a universal permission list.
| Method | What can be said reliably | What to verify |
|---|---|---|
| Bleach | Do not use it as a routine default. Manufacturer guidance can differ, and general mold guidance does not make bleach a substitute for moisture control or physical cleanup. | The exact sauna, wood or finish, cleaning purpose, product label and applicable care instructions. |
| Vinegar | It appears in some sauna-maintenance guidance for specific tasks, but that does not make it a universal wood cleaner. | The actual component and problem addressed by the guidance. |
| Steam cleaning | Do not assume that steam cleaning is compatible with sauna wood. | The surface or finish and the applicable sauna and surface-care instructions. |
| Pressure washing | Do not assume that pressure washing is compatible with a sauna surface. | Use it only where the documentation for the specific sauna and surface expressly permits the method. |
| Sanding | Some manufacturers permit light sanding of certain dry wood surfaces with persistent marks. | Finish, surface condition and the approved restoration method. |
The same scope problem appears with vinegar. Harvia mentions vinegar or citric acid for limescale on the outside of a heater. That does not establish a general vinegar rule for wooden benches.
Cleaning Is Not the Same as Disinfecting
Cleaning, sanitizing and disinfecting are separate tasks. CDC cleaning and disinfecting guidance distinguishes these activities and notes that surfaces should be cleaned before sanitizing or disinfecting because soil can interfere with the process.
For sauna wood, a disinfectant still has to be appropriate for the specific surface and used according to its label. Check whether the product is permitted on porous or wood surfaces, follow its required contact time, ventilation and protective-equipment directions, and complete any required residue-removal step. A product’s ability to kill microorganisms does not by itself establish compatibility with a particular bench, finish or sauna system.
Match the method to the task, surface and documented care instructions before using it.
If you are unsure what type of timber or surface treatment you are dealing with, see why saunas use wood and how sauna timber differs by use zone before choosing a more aggressive maintenance method.
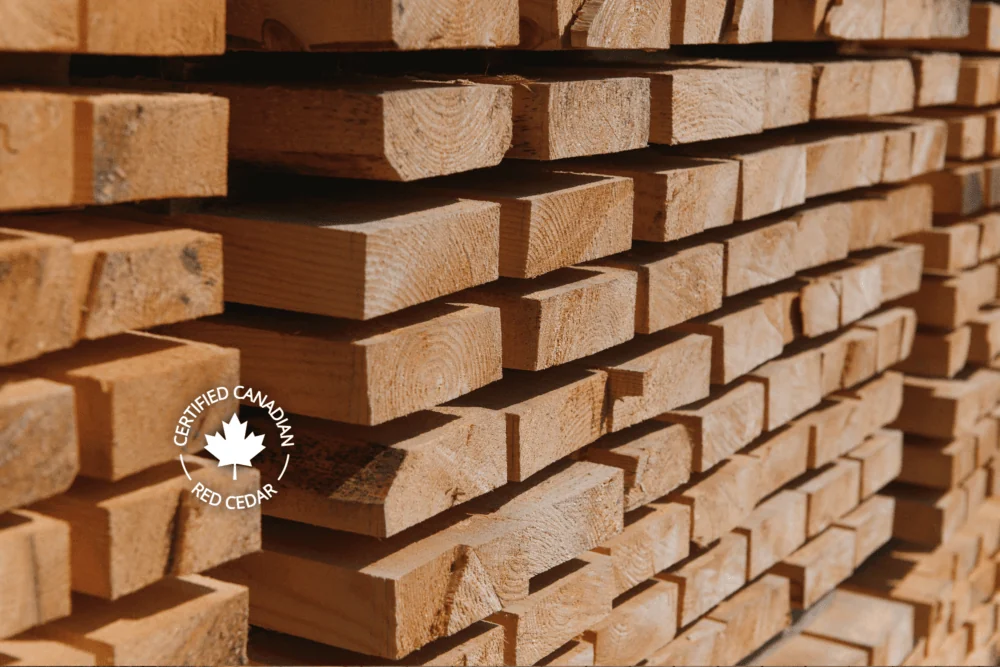
Stains, Odors, and Dark Areas: When Routine Cleaning Is Not Enough
A visible mark tells you that the surface has changed. It does not necessarily tell you why.
Treat stains by cause, not by color alone.
Wood discoloration can have more than one explanation, and mold itself can appear in different colors. A black area is therefore not enough to diagnose “black mold,” just as a dark mark beside a screw does not automatically prove corrosion or decay. EPA mold and moisture guidance also makes moisture control central to mold prevention and cleanup.
Use the behavior of the problem—not color alone—to decide what happens next.
| What you observe | What to check | Next decision |
|---|---|---|
| Ordinary soil that removes normally | Whether the approved cleaning method works without altering the surface | Finish cleaning and drying |
| A mark that remains after routine cleaning | Surface treatment, location, previous products and whether appearance changes wet versus dry | Check whether an approved restoration method exists |
| Darkening that repeatedly returns | Cleaner compatibility, drying pattern, joints and possible moisture sources | Investigate before increasing chemical strength |
| Persistent odor or suspected mold-like growth | Moisture history, recurrence and affected area | Treat it as a moisture/assessment issue rather than simply another stain |
| Dark staining near a metal fastener | Wood type or extractives, moisture exposure and fastener location | Consider metal-related staining as one possible explanation |
| Soft or deteriorated wood | Whether deterioration extends beyond the surface | Stop treating it as routine cleaning |
Why Recurring Moisture Changes the Problem
EPA guidance makes the underlying principle clear: mold control depends on moisture control, and killing mold does not by itself complete cleanup. The moisture source still has to be corrected and the contamination handled appropriately.
That is why repeatedly applying a stronger cleaner or disinfectant is a poor response to an area that continually remains damp.
If the same joint, lower wall area or hidden edge repeatedly stays wet, the next useful question is why it cannot dry, not what stronger chemical should be added.
Example: A Dark Mark Beside a Fastener
Suppose a blue-black or gray mark develops around a screw or other steel component.
One possible explanation is iron staining. USDA Forest Products Laboratory documents dark iron staining where iron, wood extractives and moisture interact.
That does not mean every mark beside a fastener is iron staining.
Instead, record the location, moisture history, wood or finish information if known, and the relationship between the mark and the metal component before deciding whether cleaning, restoration or further inspection is appropriate.
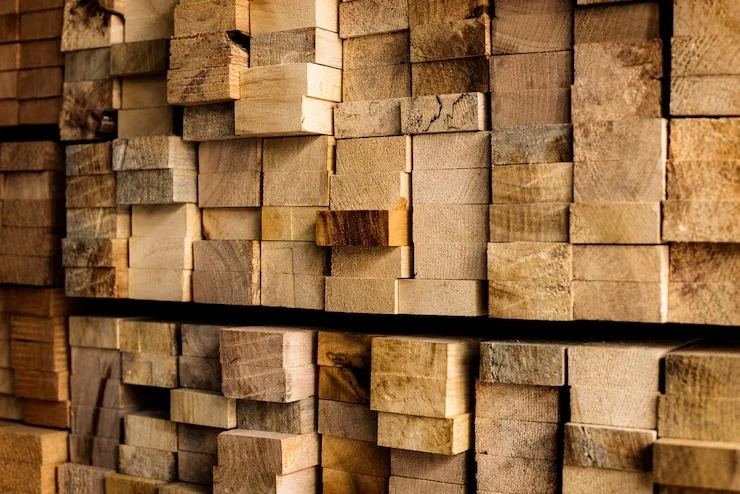
Rinsing, Residue Removal, and Drying After Cleaning
Cleaning is not finished when the scrubbing stops.
The remaining cleaner needs to be removed in the way required by that product or care procedure, and the affected wood and surrounding areas need to dry appropriately.
Follow the Actual Residue-Removal Instructions
There is no single correct finishing step for every cleaner.
For example, Harvia’s bench-care guidance includes rinsing after detergent cleaning. Other cleaning systems may specify controlled wiping instead.
So avoid replacing the applicable instructions with either of these blanket rules:
- “always rinse heavily,” or
- “never rinse; only wipe.”
Follow the applicable cleaner and sauna-care instructions while avoiding unnecessary saturation of the structure.
Drying Is Part of Cleaning
This is not just a housekeeping detail.
Wood is hygroscopic: it exchanges moisture with the surrounding environment, and changes in moisture influence its physical behavior. USDA Forest Products Laboratory’s wood-moisture guidance treats moisture relations as a fundamental part of wood performance.
Sauna manufacturers also include drying or airing out in their maintenance procedures, but the exact procedure differs. Finnleo’s general care guidance emphasizes airing the sauna out after use, while Harvia’s cited bench-cleaning procedure includes a specific heated drying step. Those are manufacturer examples for their own care systems, not a single rule for every sauna.
There is therefore no defensible universal rule that every sauna should be heated for the same number of minutes after cleaning. Use the drying procedure that applies to the installed product and confirm that the cleaned surfaces and difficult-to-dry edges are no longer remaining wet.
Instead, check:
- the drying procedure required by the applicable care instructions;
- whether moisture remains in joints or difficult-to-dry areas;
- whether the same location stays damp after otherwise normal cleaning; and
- whether the sauna is being returned to service before the cleaning and drying process is actually complete.
If persistent dampness appears to be linked to room construction or airflow rather than the cleaning method itself, the issue has moved into a broader sauna construction and ventilation question rather than something that should be solved by adding more cleaning chemicals.
When Cleaning Is Not Enough: Sanding, Surface Treatment, or Further Assessment
A stain that survives normal cleaning does not automatically call for stronger cleaner.
Sometimes the next task is restoration.
Some sauna manufacturers allow light sanding of certain dry benches or other wood surfaces when stubborn marks remain. That demonstrates that sanding can be appropriate in some sauna-care systems; it does not make sanding a universal next step.
Before sanding, oiling, waxing, sealing or otherwise treating the surface, verify:
- whether the wood is unfinished or already treated;
- whether the manufacturer permits the proposed method;
- whether sanding would alter or remove an existing finish;
- whether the issue appears superficial;
- whether persistent moisture or suspected biological growth is still present; and
- whether a new surface treatment might hide rather than resolve the problem.
EPA mold-cleanup guidance advises against painting or caulking moldy surfaces before the mold is cleaned and the surface dried.
Example: The Bench Keeps Getting Darker After Cleaning
Imagine that a bench looks progressively darker after several cleaning cycles.
The appearance alone does not prove that the cleaner is too concentrated, that trapped rinse water is responsible, or that the wood is decaying.
A better troubleshooting sequence is:
- Record the cleaner and application or dilution method.
- Confirm whether it is suitable for the surface.
- Check how residue is supposed to be removed.
- Review how the area dries after cleaning.
- Compare the condition when wet and when fully dry.
- Stop escalating the chemistry until the cause is better understood.
The value of this scenario is the decision path—not a remote diagnosis.
When Further Assessment Is the Better Next Step
Stop treating the issue as routine DIY cleaning when:
- the wood feels soft, deteriorated or structurally questionable;
- discoloration or odor repeatedly returns after cleaning and drying;
- moisture is appearing from an unknown or concealed source;
- the correct cleaner, finish or restoration method cannot be confirmed;
- suspected mold extends beyond a straightforward surface-cleaning problem; or
- the next treatment would require sanding, coating or chemical use that is not supported by the available instructions.
At that point, further experimentation can remove useful evidence and make the original problem harder to interpret.
Cleaning and Inspection for Commercial Saunas
A commercial sauna has the same material constraints as a residential sauna, but not the same operating context.
Guest traffic, repeated sessions, staff cleaning, different chemicals and facility-specific hygiene requirements can all change how often a surface needs attention.
For that reason, there is no useful universal commercial rule such as “deep-clean every X days.”
CDC facility guidance instead ties cleaning decisions to factors such as visible soil, surface contact, traffic and applicable facility requirements.
A commercial sauna cleaning program should therefore combine:
- manufacturer care instructions;
- actual use and traffic;
- visible surface condition;
- cleaning-product directions;
- applicable facility requirements;
- staff safety requirements for cleaning chemicals; and
- inspection results showing whether problems are recurring.
Cleaning and disinfection remain separate decisions. A disinfectant does not replace physical cleaning, moisture control or inspection of the wood itself.
Keep a Simple Cleaning and Inspection Record
For higher-use saunas, a consistent record can prevent different staff members from treating the same surface in incompatible ways.
| Record | Why it is useful |
|---|---|
| Date and location | Shows where and when work occurred. |
| Surface or component | Prevents instructions for one material being transferred to another. |
| Cleaner or treatment | Makes compatibility review possible. |
| Application or dilution method | Helps identify deviations from instructions. |
| Residue-removal method | Shows how the cleaning cycle was completed. |
| Drying result | Identifies places that repeatedly remain damp. |
| Condition after cleaning | Separates removable soil from persistent problems. |
| Recurrence | Signals when investigation may be more useful than repeated cleaning. |
| Follow-up action | Creates a clear maintenance or support handoff. |
This is a practical maintenance tool, not a claim that every facility is legally required to use the same form.
If commercial cleaning access itself is difficult—for example around benches, lower tiers or concealed faces—that is partly a design issue. The separate guide to sauna bench dimensions and layout covers that design task rather than turning this cleaning article into a layout guide.
What to Record Before Asking the Manufacturer or Support Team for Help
If normal cleaning does not solve the problem, send something more useful than “the wood turned dark.”
Record what you can safely establish before changing the surface again:
- sauna manufacturer and model, if known;
- affected surface and location;
- wood type or finish, if known;
- clear photographs;
- whether appearance changes wet versus dry;
- cleaner or treatment used;
- application or dilution method;
- how residue was removed;
- how the area was dried;
- what has already been tried;
- whether the condition returns;
- nearby moisture, condensation or water entry that has been observed; and
- relevant care documentation, if available.
For a HACHILL product, Product Support is the appropriate next step for model-specific maintenance information.
You do not need to diagnose the cause before requesting support.
If the issue concerns an existing order, delivered product, service case or replacement part rather than routine care information, use the separate After-Sales Service route.
Frequently Asked Questions
Can You Use Bleach on Sauna Wood?
There is no universal permission to use bleach on sauna wood. Finnleo’s general care guidance permits warm water and bleach for mold in a defined maintenance context, while EPA mold guidance does not recommend biocides such as chlorine bleach as a routine mold-cleanup practice. Follow the care instructions for the actual sauna, surface and cleaning purpose, and remember that killing mold does not replace removal and correction of the moisture problem.
Can You Clean Sauna Wood With Vinegar?
Do not treat vinegar as a universal sauna-wood cleaner. It appears in some sauna-maintenance guidance for particular components or problems, but the recommendation must apply to the actual wood surface you are cleaning. Harvia, for example, discusses vinegar for limescale on the outside of a heater rather than as a general bench-cleaning rule.
Can Sauna Benches Be Pressure Washed?
Do not assume that pressure washing is compatible with an interior bench—or with any other sauna surface—without checking the documentation for that specific sauna. Use a pressure or wash-down method only where the applicable care instructions expressly permit it.
Should You Sand Stains Out of Sauna Wood?
Light sanding is permitted by some sauna manufacturers for certain dry wood surfaces with persistent marks. Before sanding, confirm the surface treatment and care instructions and make sure the problem is actually superficial. Sanding should not be used to conceal unresolved moisture or suspected mold.
How Often Should Sauna Wood Be Cleaned?
Use condition and the sauna manufacturer’s care guidance rather than an arbitrary universal interval. Light routine care can remove fresh surface soil before it builds up, while deeper cleaning should be triggered by actual use, visible residue, staining and the maintenance instructions for the installed sauna. If cleaning is becoming more aggressive because an area repeatedly stays damp or discolors, investigate the cause instead of simply increasing frequency.
How Often Should a Commercial Sauna Be Cleaned?
There is no single interval that fits every commercial sauna. Cleaning frequency should reflect actual use, visible condition, manufacturer instructions and applicable facility requirements. Higher-traffic spaces may require more frequent attention, but the schedule should come from those conditions rather than an arbitrary universal number.
Need model-specific maintenance guidance for an existing HACHILL sauna?
Contact Product Support with the model, affected surface, photographs and the cleaning method already used. For an existing order, delivered product or service case, use After-Sales Service.